How to Texture a 3D Model with AI
A practical workflow for turning a UV-mapped 3D model into a textured PBR asset with a prompt or reference image.
AI texturing turns a UV-mapped 3D model and a visual direction into a draft PBR asset. It does not remove the need for a clean mesh or usable UVs, but it can replace the slowest part of early exploration: manually painting every material idea before you know which direction is worth keeping.
This guide explains how to prepare a model, choose the right input, inspect the result, and continue working with the generated PBR files.
What you need before you start
Prepare a GLB with:
- A mesh that opens correctly in a 3D viewer
- Usable UV coordinates with enough space between islands
- A sensible scale and orientation
- Embedded rig and animation data if the asset is an animated character
The UV layout matters because the generated pixels still need coordinates on the model. Overlapping islands may be intentional for mirrored parts, but accidental overlaps can copy unrelated details across the surface.
Step 1: Upload the 3D model
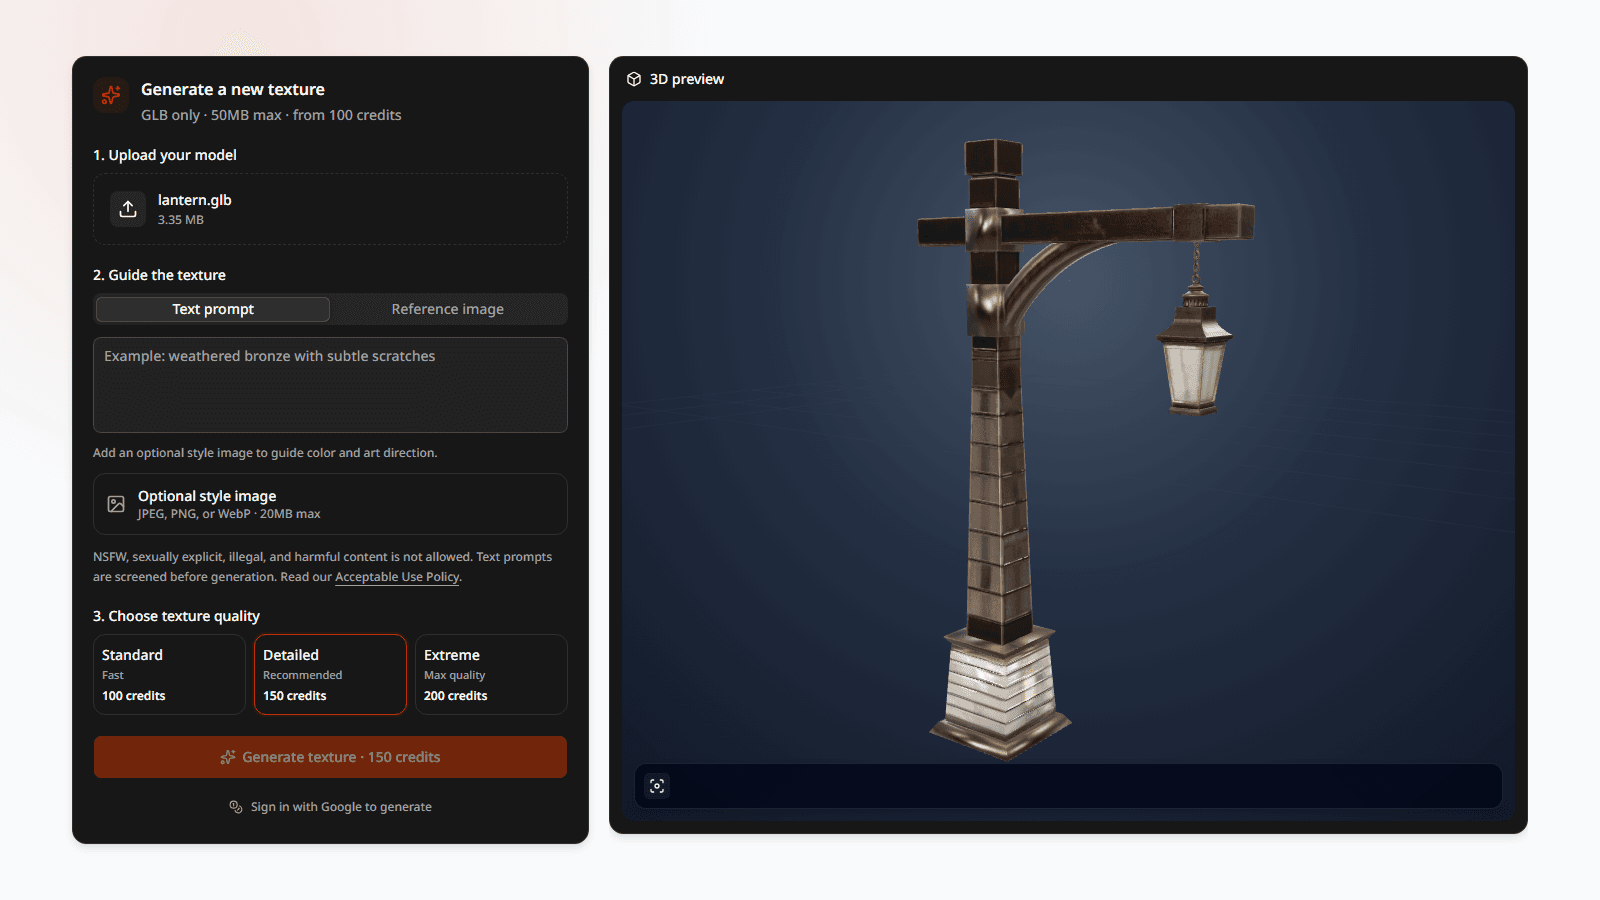
Open the 3D texture generator and choose a GLB file. The current upload limit is 50MB.
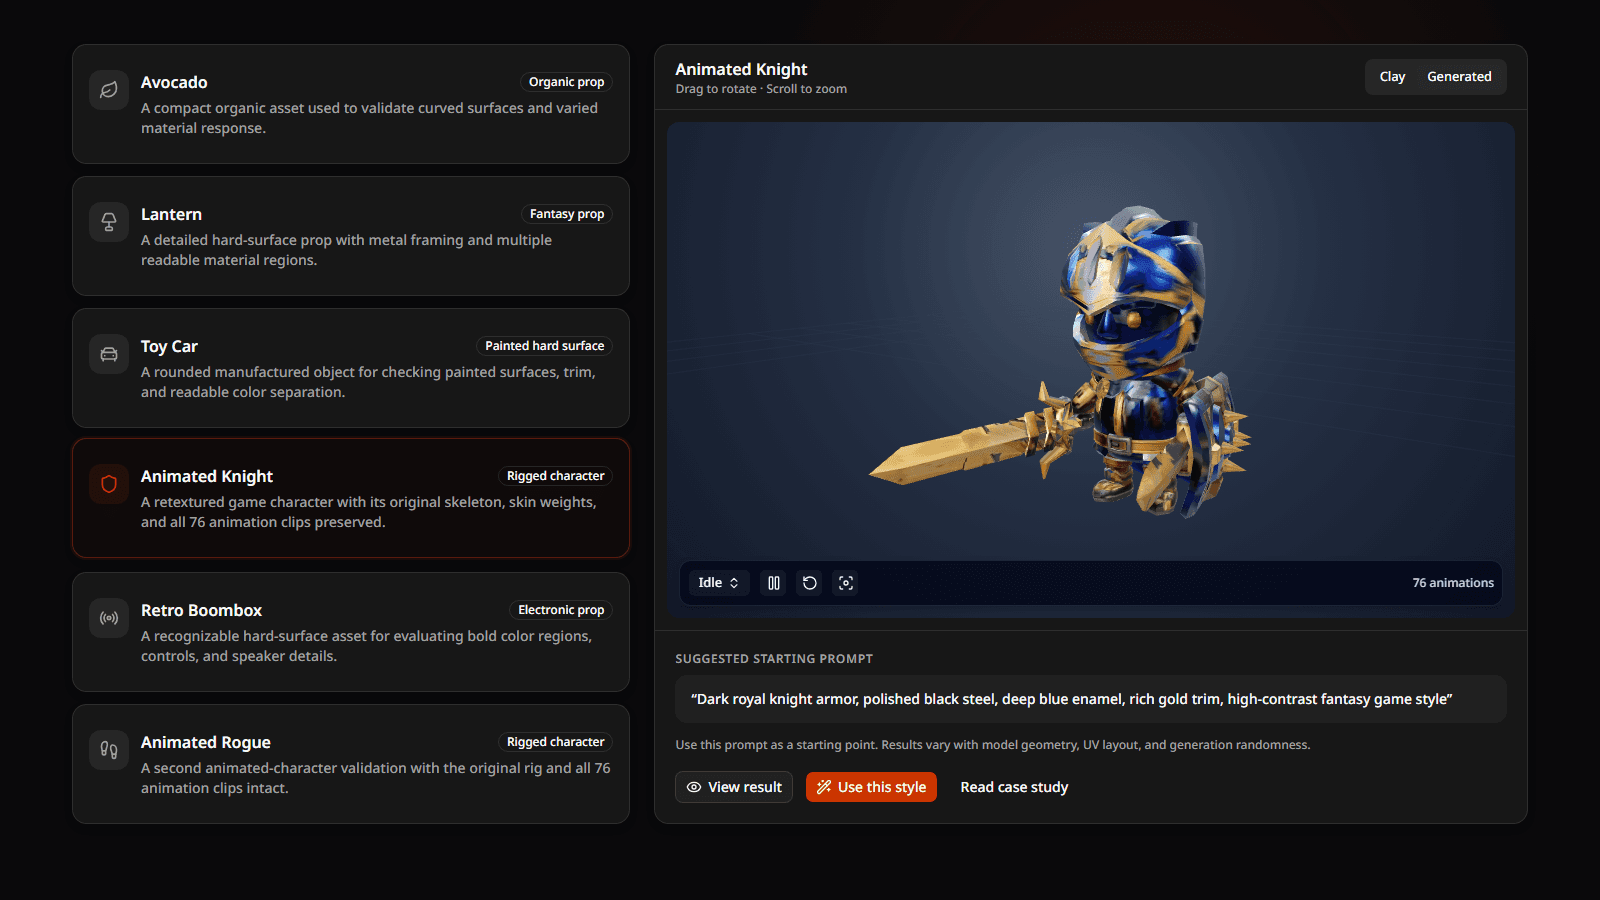
The browser preview lets you check the model before generation. For rigged characters, it also reports the detected skeleton and animation clips so you can confirm that the expected source data is present.
Step 2: Choose how to guide the texture
There are two useful starting points.
Use a text prompt
A text prompt works well when you already know the material direction. Include the surface, finish, wear, color hierarchy, and intended use.
For example:
Weathered bronze fantasy lantern, dark iron frame, warm aged metal, subtle scratches, readable game-ready PBR detail.
Avoid prompts made only from mood words such as "epic" or "beautiful." They do not say which parts should look metallic, painted, rough, worn, or clean.
Use a reference image
A reference image is useful when color relationships or a hand-painted style are easier to show than describe. Use an image with a clear subject, coherent lighting, and enough material detail to communicate the intended look.
You can also combine a prompt with a style image. The prompt explains what the materials should be, while the image helps communicate the visual treatment.
Step 3: Select the quality level
Choose a quality level based on the asset and the stage of the project:
- Standard for quick exploration and simple props
- Detailed for a stronger balance of detail and cost
- Extreme when the asset justifies the highest available detail pass
The generator shows the credit cost before you submit, so the expected charge is visible before any work begins.
See our Standard vs Detailed vs Extreme comparison for three real generations of the same animated GLB, including measured map resolutions and output sizes.
Step 4: Generate and inspect the result
After generation, rotate the result and check:
- Whether major materials are separated clearly
- Whether seams or mirrored areas create visible errors
- Whether important shapes remain readable at game-camera distance
- Whether metal, rough, and painted areas respond differently to light
- Whether an animated character still exposes its original clips
Do not judge only from one front view. Rotate around thin parts, hidden surfaces, and areas where several UV islands meet.
Step 5: Download the asset and PBR maps
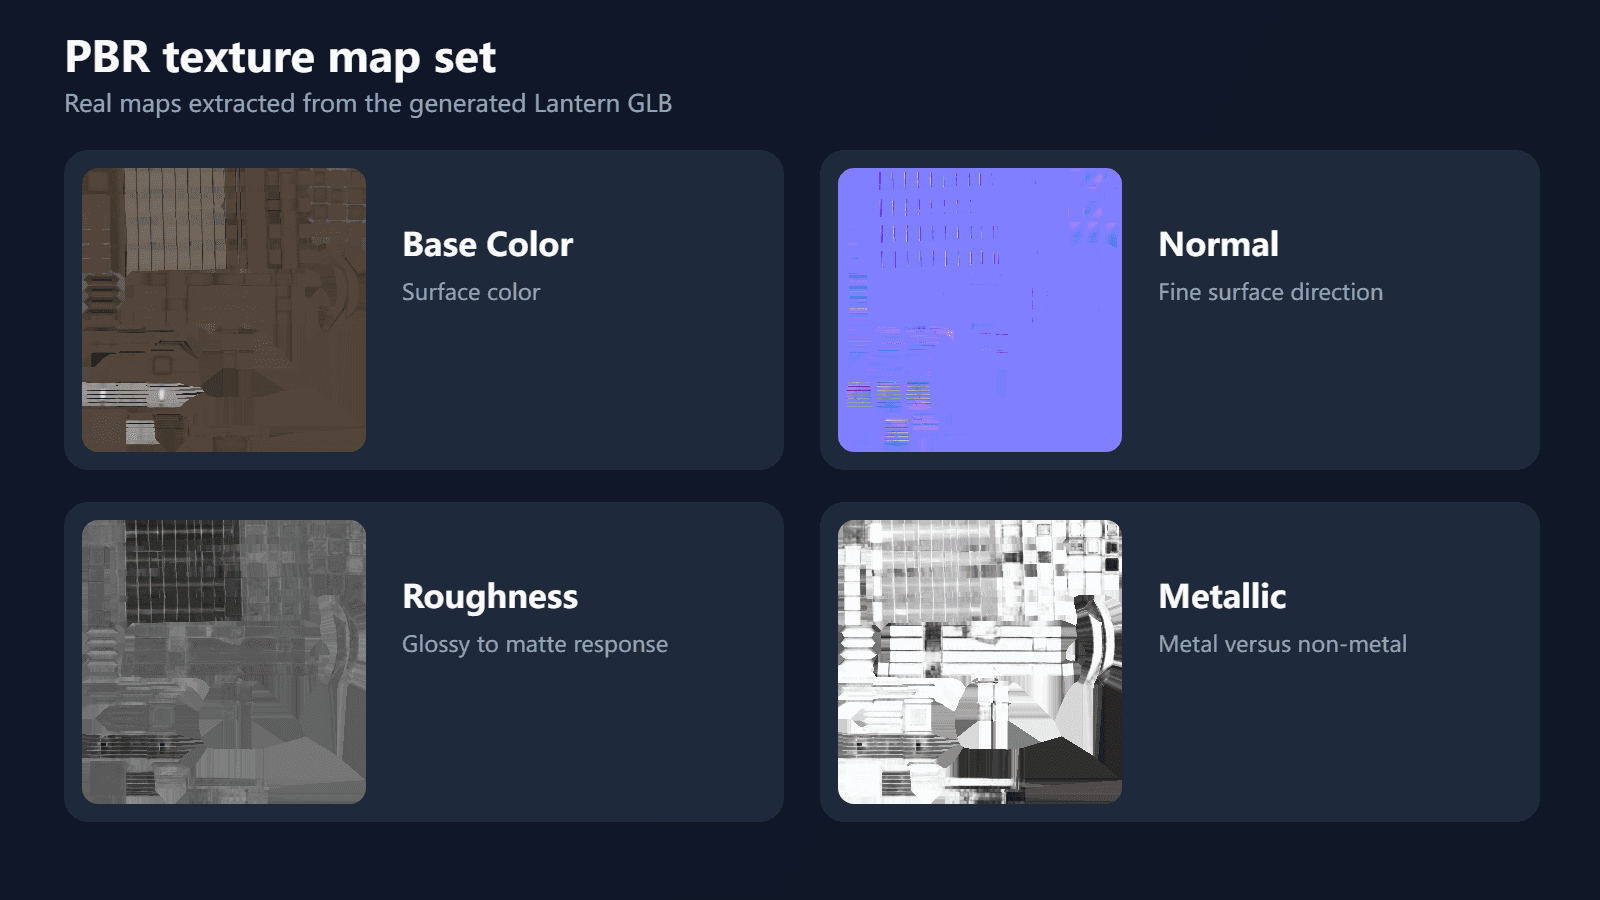
A completed result can include:
- The textured GLB
- Base Color
- Normal
- Roughness
- Metallic
The GLB is useful for a fast preview or direct import. The separate maps give you more control when continuing in Blender, Unity, Unreal Engine, or another material workflow.
Common problems to fix before another generation
If the result looks stretched, duplicated, or inconsistent, inspect the source UVs first. A new prompt cannot repair a broken UV layout.
If the material identity is unclear, make the prompt more concrete. Replace "old fantasy style" with specific directions such as "aged brass frame, smoky glass, black iron fasteners, and light edge wear."
If a rigged result cannot safely preserve the source topology, treat that as a failed result rather than accepting a character with damaged animation data.
Start with a real asset
Upload a UV-mapped GLB to the AI texture generator for 3D models, try one clear material direction, and inspect the result before increasing the quality or adding more prompt detail.
Continue the GLB workflow
- Add textures to a GLB model for model preparation, material roles, and result inspection.
- Bake textures in Blender when you need separate portable maps after editing the material.
- Import an AI-textured GLB into Blender to reconnect and fine-tune the downloaded PBR maps.
Technical sources
Author
Categories
More Posts
How to Bake Textures in Blender
Bake Base Color, Normal, Roughness, and Metallic maps from a UV-mapped 3D model in Blender, save each image, and avoid common blank or broken bakes.
How to Add Textures to a GLB Model
Learn how GLB materials and PBR maps work, how to prepare UVs, and how to download a newly textured GLB.
PBR Texture Maps Explained
Understand Base Color, Normal, Roughness, and Metallic maps and how they work together on a 3D model.