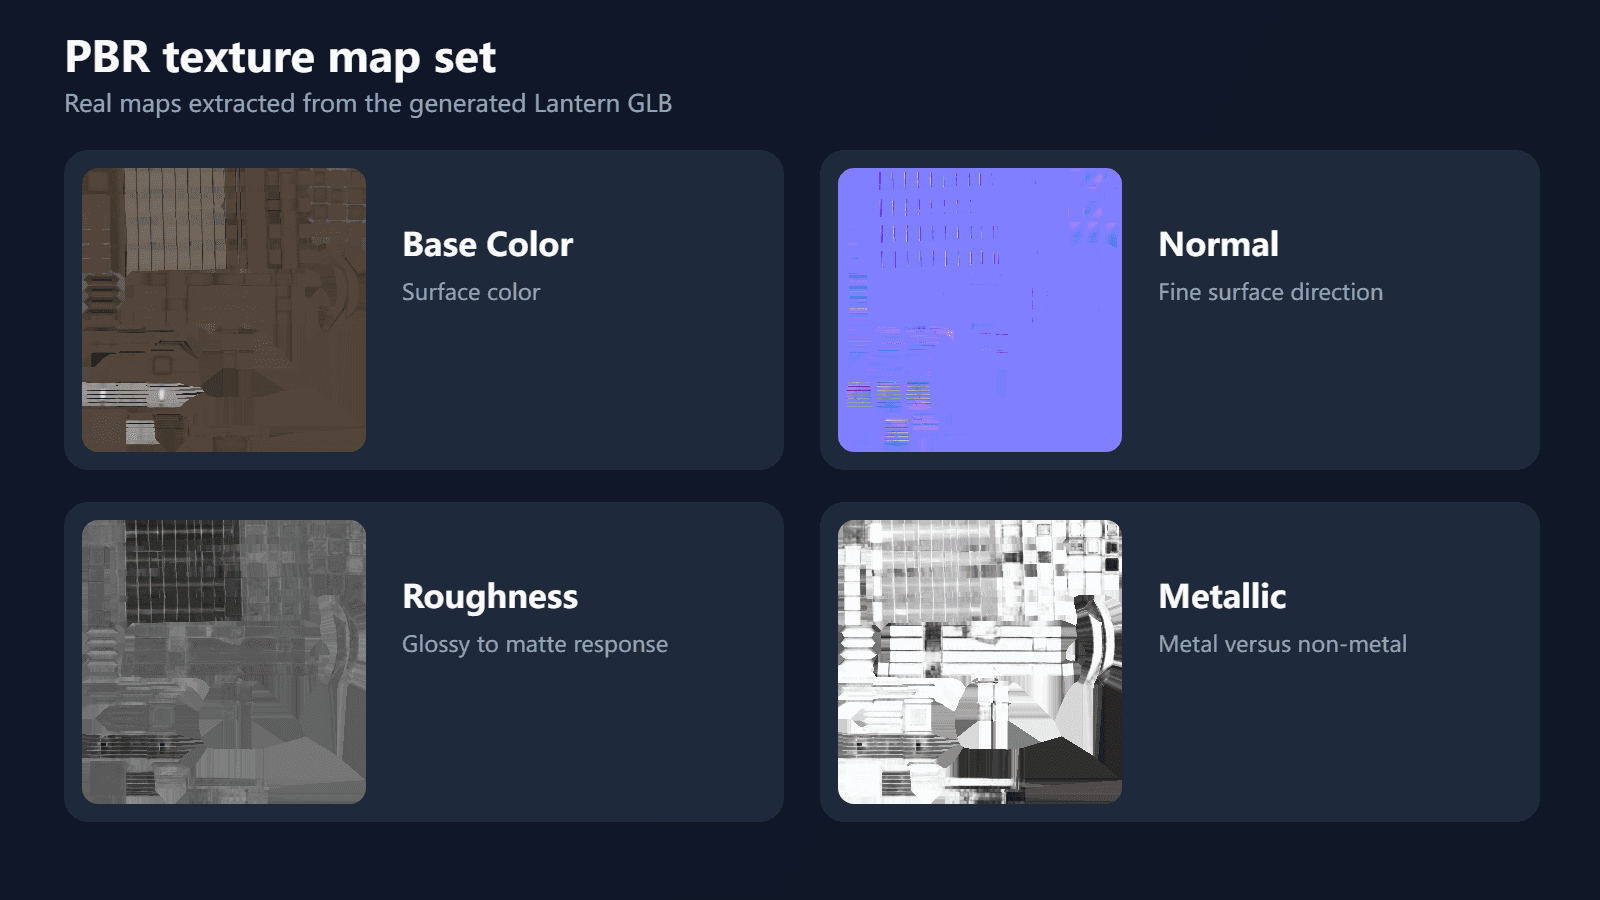
How to Bake Textures in Blender
Bake Base Color, Normal, Roughness, and Metallic maps from a UV-mapped 3D model in Blender, save each image, and avoid common blank or broken bakes.
To bake textures in Blender, UV unwrap the destination mesh, switch the render engine to Cycles, create an image for the map you want to bake, and keep that Image Texture node selected in the material. Choose the matching bake type in Render Properties, click Bake, and save the finished image from the Image Editor.
Repeat the process for every map you need. Base Color, Normal, and Roughness have direct bake workflows. Metallic normally needs a temporary material connection because Cycles does not provide a dedicated Metallic bake type.
What texture baking does
Texture baking records material or lighting information from a 3D scene into a 2D image. It is useful when you need to:
- Combine several material inputs into portable texture maps
- Move an asset from Blender into a game engine
- Transfer detail from a high-poly mesh to a low-poly mesh
- Replace procedural nodes with images that a GLB can carry
- Consolidate a multi-material workflow before export
If you already downloaded a textured GLB and separate PBR maps from 3D Texture Generator, you usually do not need to bake them again. Bake only when you have changed the material in Blender, added procedural nodes, or need a different texture layout.
Before you bake
Check these four things first:
- Apply the object scale. Select the object and use
Ctrl+A> Scale. - Create usable UVs. Open the UV Editing workspace and confirm that the UV islands do not overlap unless the overlap is intentional.
- Choose a texture size. Use a power-of-two image such as 1024, 2048, or 4096 pixels based on the asset's screen size and memory budget.
- Save the Blender file. Baking can take time, and generated images are not safely stored on disk until you save them separately.
Step 1: Switch to Cycles
Open Render Properties and change the render engine to Cycles. The Bake panel is part of the Cycles render workflow.
GPU compute can make a large bake faster, but it does not change the steps or the resulting map format.
Step 2: Create the target image
Open the Shader Editor and add an Image Texture node to the material. Click
New and create an image for one map, for example asset_base_color_2048.
Keep this Image Texture node selected. Blender writes the bake to the active image node. A missing or inactive target node is one of the most common reasons for a blank result.
Create a separate image for each map. Do not bake Base Color, Normal, Roughness, and Metallic into the same image unless your destination workflow specifically uses packed channels.
Step 3: Set the bake margin
In Render Properties > Bake, set a margin around the UV islands. A margin extends pixels beyond each island and reduces visible seams when the model is filtered or viewed at a distance.
Start with 16 pixels for a 2K texture. Increase it for larger maps or when the UV islands have enough space between them.
Step 4: Bake each PBR map
Use the following settings as a practical starting point:
| Map | Cycles bake type | Important setting |
|---|---|---|
| Base Color | Diffuse | Enable Color and disable Direct and Indirect |
| Normal | Normal | Use Tangent space for most game assets |
| Roughness | Roughness | Set the image to Non-Color after baking |
| Metallic | Emit workaround | Temporarily connect Metallic to Emission |
For Metallic, temporarily route the material's Metallic value or texture into an Emission shader, connect it to Material Output, and bake with Emit. Then restore the original material connections. This records the grayscale metallic data without adding scene lighting.
Before clicking Bake, select the correct object and confirm that the target Image Texture node is active. Repeat the process with a new target image for each map.
Step 5: Save every baked image
After each bake, open the Image Editor and choose Image > Save As. Give the file a clear suffix such as:
asset_base_color.pngasset_normal.pngasset_roughness.pngasset_metallic.png
Saving the .blend file alone is not a reliable replacement for saving the
individual images.
Step 6: Reconnect the baked maps
Connect the saved images to a Principled BSDF material:
- Base Color uses the sRGB color space.
- Normal, Roughness, and Metallic use Non-Color data.
- The Normal image passes through a Normal Map node before reaching the Principled BSDF Normal input.
Inspect the asset in Material Preview or Rendered view. Look for seams, flipped normal detail, unexpected gloss, and material regions that have lost contrast.
For a deeper explanation of what each channel controls, read PBR Texture Maps Explained.
Step 7: Export the textured GLB
Choose File > Export > glTF 2.0, then select GLB as the format. Make sure the material uses image-based inputs supported by glTF.
Open the exported file in a separate viewer before shipping it. This catches missing images, unsupported nodes, and differences between Blender's preview and the destination renderer.
If you need to add or replace the texture before the Blender stage, follow How to Add Textures to a GLB Model or use a 2D reference image to guide a 3D texture.
Why did my Blender texture bake fail?
The baked image is black or empty
Confirm that an Image Texture node exists in every relevant material and that the intended node is selected. Also check that the object has UVs and that Cycles is the active render engine.
The bake has visible seams
Increase the bake margin, inspect the UV padding, and check whether neighboring UV islands overlap. Very small islands may also need a larger texture or a better UV layout.
The normal map looks flat or inverted
Use Tangent-space normals for a typical game asset, import the map as Non-Color data, and pass it through a Normal Map node. If the destination engine uses a different normal convention, its green channel may need adjustment.
The texture disappears after reopening Blender
Save the baked image from the Image Editor. An unsaved generated image can be lost even when the Blender project itself was saved.
Continue the Blender and GLB workflow
If the model still needs a material direction, start with How to Texture a 3D Model with AI. After downloading the result, follow the AI-textured GLB workflow for Blender to inspect the Principled BSDF material and reconnect individual PBR maps when needed.
Technical sources
Author
Categories
More Posts
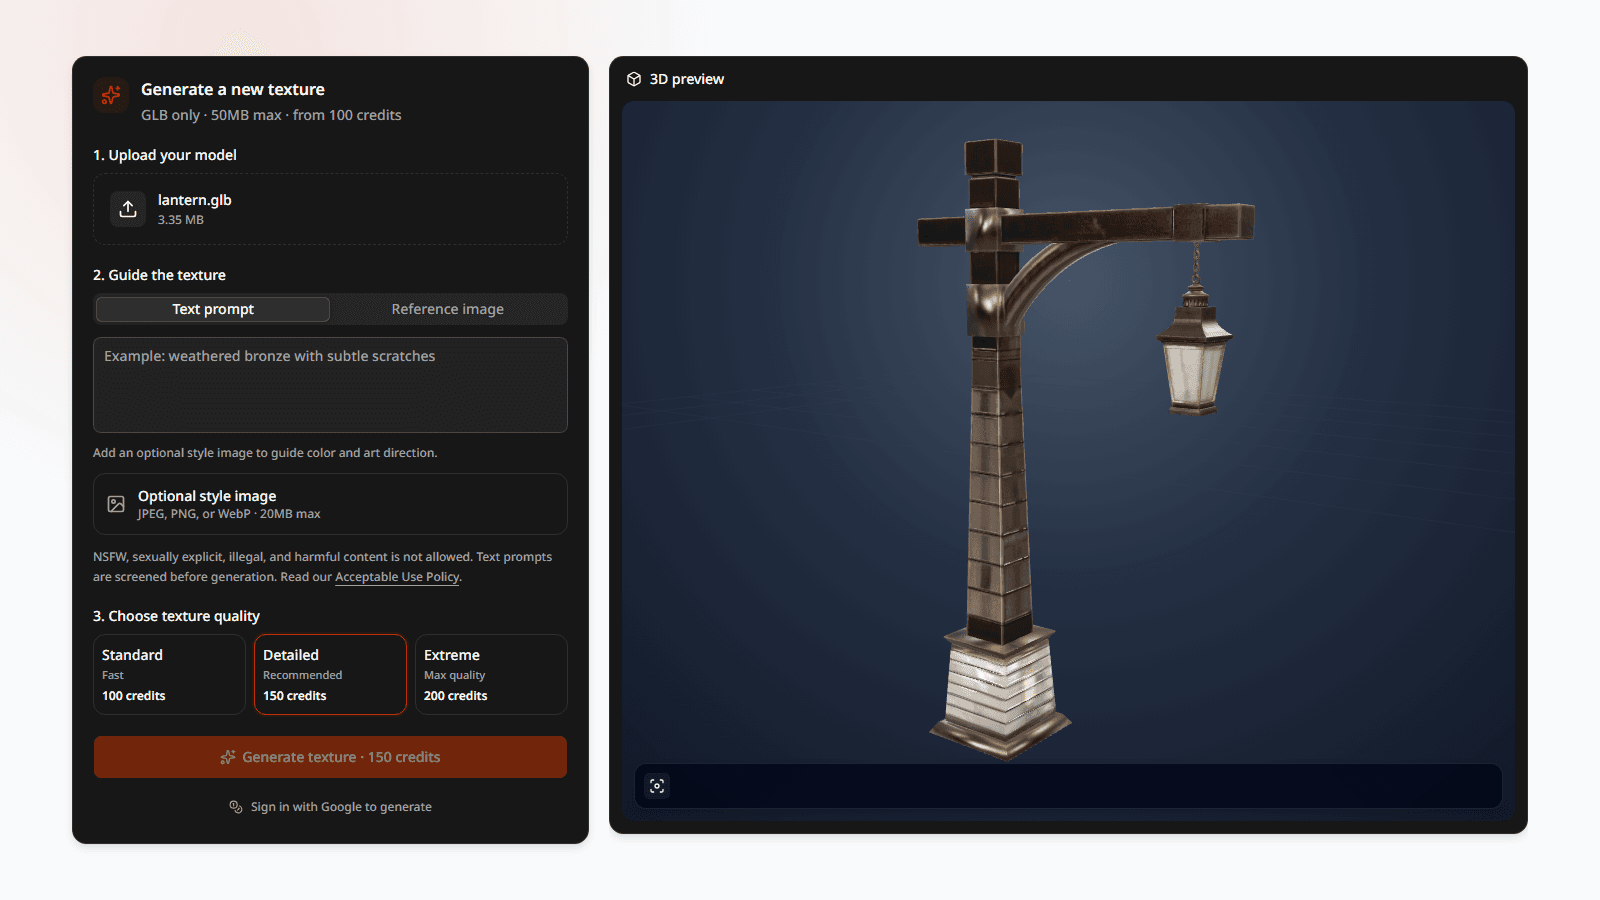
How to Add Textures to a GLB Model
Learn how to inspect, extract, add, or replace GLB textures, prepare UVs, apply PBR maps, and export a newly textured 3D model.
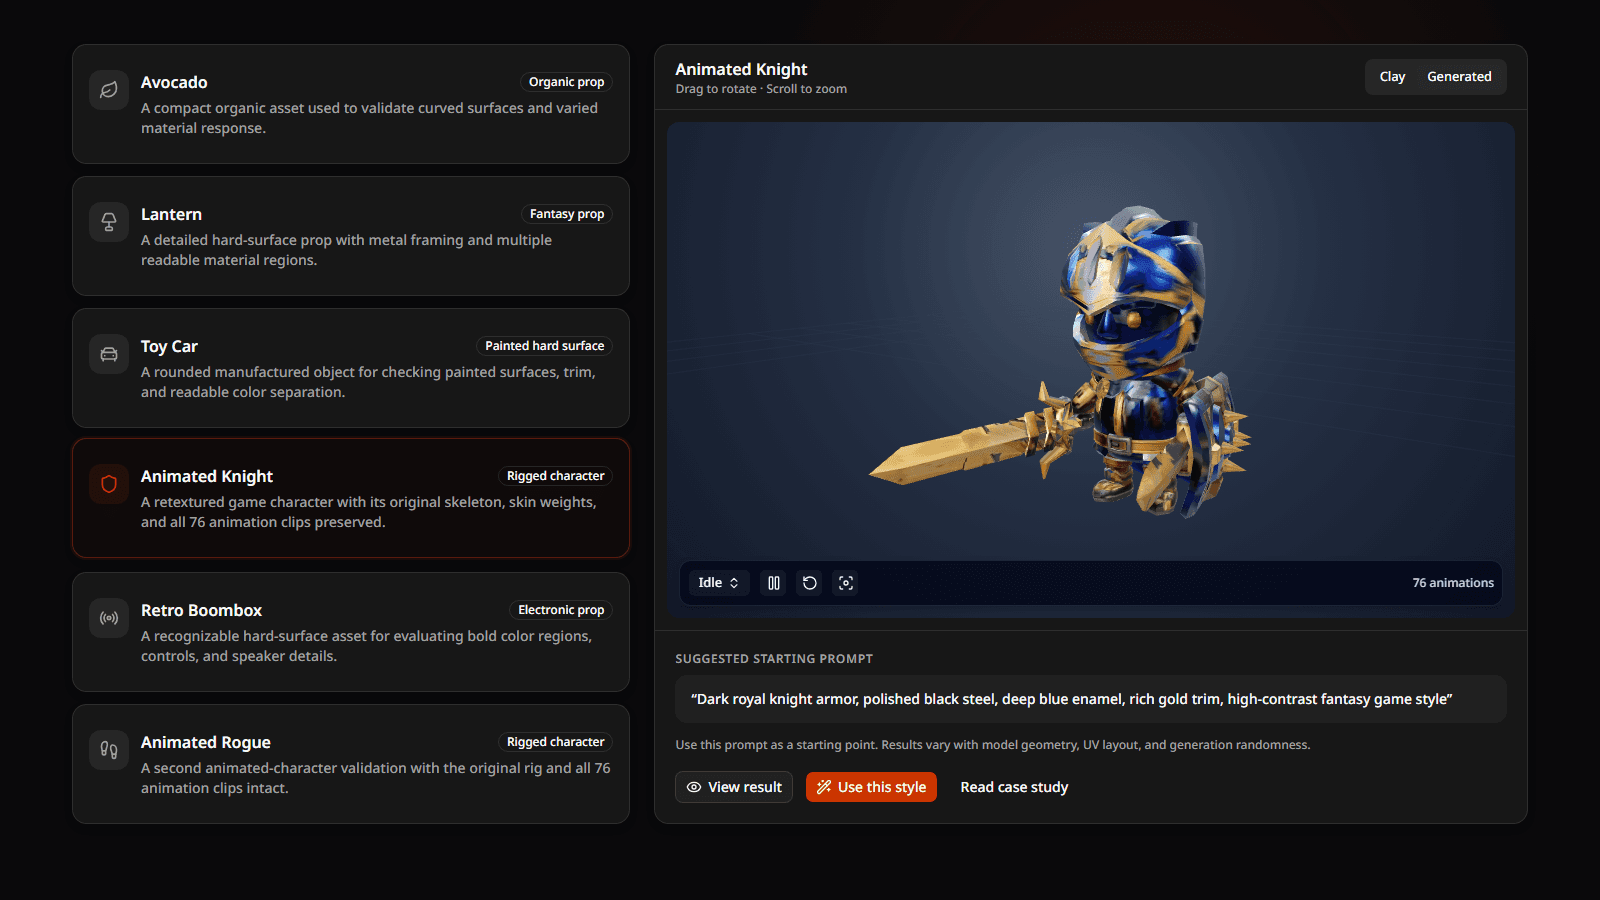
How to Texture a 3D Model with AI
A practical workflow for turning a UV-mapped 3D model into a textured PBR asset with a prompt or reference image.
PBR Texture Maps Explained
Understand Base Color, Normal, Roughness, and Metallic maps and how they work together on a 3D model.